How to Splice a Network Cable and Why Your Business Should Call a Pro

TL;DR
- A damaged network cable is a business continuity emergency, with downtime costing up to $9,000 per minute. A proper splice is crucial.
- For a quick, temporary fix at a desk, an RJ45 inline coupler works. For any permanent or in-wall repair, a punch-down junction box is the only reliable, professional choice.
- Always follow the T-568B wiring standard precisely. Even one misplaced wire can slash your gigabit network speeds by 90%, turning productive time into wasted time.
- The right tools are non-negotiable. Using a professional crimper, stripper, and a cable tester prevents intermittent issues that are a nightmare to troubleshoot.
- For businesses in the Indianapolis area, especially those under compliance like HIPAA or CMMC, a professional, certified installation isn't a luxury—it's a requirement for security and operational stability.
That frayed network cable dangling from the ceiling or getting mangled by an office chair isn't just an eyesore—it's a full-blown emergency waiting to happen. When you need to splice network cable, doing it perfectly isn't just a goal; it's the only way to sidestep data loss, sluggish speeds, and the kind of network downtime that costs real money.
Why A Flawless Cable Splice Matters
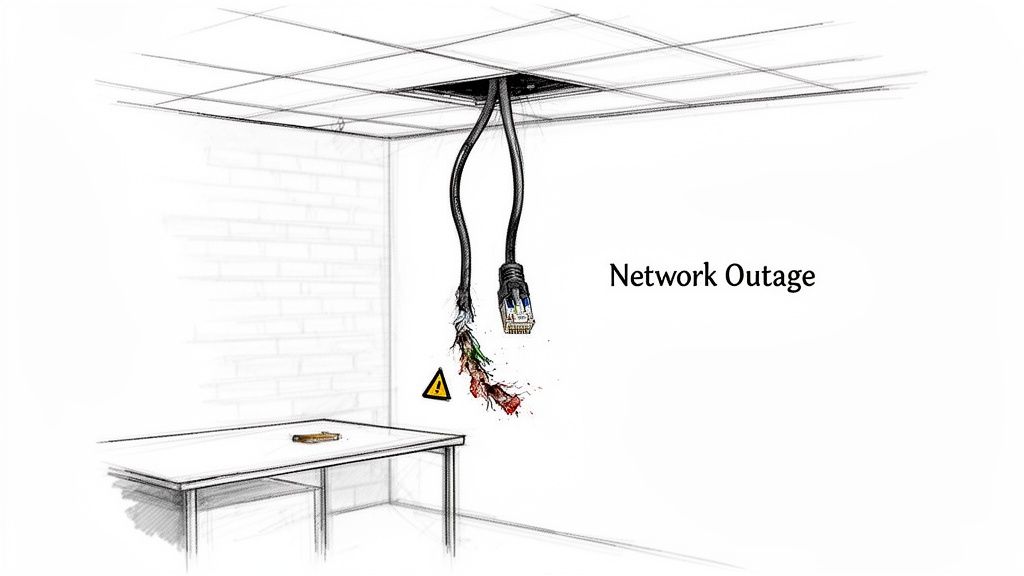
Picture this: you're a Greenwood business owner in one of those classic old brick buildings. A single, shoddy splice can do more than just cause a little frustration. It can bring your entire operation to a grinding halt. The same goes for those massive warehouses lining the I-65 corridor, where one weak link in the chain can throw a wrench in the logistics and rack up thousands in what we call "wasted tech time." In our 17 years of untangling network nightmares across Johnson County, we've seen it all. A poorly done DIY splice is the fastest way to turn a simple fix into a catastrophic network outage.
The True Cost of a Bad Connection
A compromised network cable is a direct threat to your business continuity. It's not just about the internet going out. The real damage comes from the ripple effects that cripple your team's productivity. Downtime can cost up to $9,000 per minute, turning what seems like a minor tech issue into a major financial drain.
- Performance Takes a Nosedive: A splice with untwisted wires or a loose connection introduces nasty interference like "crosstalk" and "signal attenuation." In plain English, your gigabit network suddenly feels like it's chugging along on dial-up from 2005. File transfers crawl, VoIP calls drop, and your cloud apps become completely unresponsive.
- The Dreaded Intermittent Outage: One of the most maddening problems we solve for businesses in Hamilton County is the "ghost in the machine"—a network that's fine one minute and dead the next. Nine times out of ten, a bad splice is the culprit, causing random packet loss that's a nightmare to diagnose without professional tools.
- Opens Up Security Gaps: For businesses in regulated industries, the physical integrity of your network is a big deal for compliance frameworks like HIPAA or NIST CSF. A sloppy, uncertified splice isn't just ugly; it could get you flagged during an audit, putting your entire business at risk.
From our time in the trenches, I'd say about half of the "slow Wi-Fi" complaints we investigate in downtown Indy's tech hubs have nothing to do with Wi-Fi. The real problem is a flaw in the wired infrastructure, often a badly terminated or spliced cable hidden in a wall from a past renovation. It's a silent productivity killer.
From Napkin Sketch to Network Nightmare
The story of Ethernet itself shows why solid connections are so crucial. Back in 1973, it was just a concept sketched on a napkin. By 1995, Fast Ethernet was everywhere, with installations skyrocketing by 300% year after year. As offices got wired up, shoddy splices quickly became a top reason for network failures, accounting for 25-30% of all network downtime and costing businesses thousands of dollars per minute.
When you realize how much depends on a single Ethernet cable—powering everything from your desk phone to a PoE security camera—you see why a perfect splice is non-negotiable.
A flawless splice is more than a quick fix; it's an investment in your company's stability and ROI. It's about preventing downtime and converting "wasted tech time" into billable hours and a predictable monthly IT budget.
Your Essential Toolkit For Splicing Network Cables
Look, before you even think about touching a single wire, let’s talk about gear. Trying to splice a network cable without the right tools is like trying to change a tire with a pair of pliers. It’s going to be messy, it’s not going to work, and you’ll just make a bigger, more expensive problem for yourself. We’ve seen Johnson County business owners lose entire workdays hunting down a network gremlin that turned out to be one bad connection made with a cheap, flimsy tool.
This isn’t about having a toolbox overflowing with gadgets you’ll never use. It’s about having the right tools to prevent failed connections and the hours of frustration that follow. A proper splice is an investment. It ensures your team isn't staring at loading screens when they should be closing deals.
The Tools of the Trade You Can't Skimp On
Think of these as your front line of defense against network downtime. If you cheap out here, you will pay for it later in lost productivity and troubleshooting headaches. When we’re on-site at a Hamilton County business, this is the core kit we rely on to get the job done right the first time, every time.
- A Professional-Grade Crimper: This is your MVP. A cheap plastic crimper from a big box store just won’t cut it. It often fails to press the RJ45 pins down with enough force, which leads to loose wires and intermittent connection drops—the absolute worst network problem to diagnose. A quality tool from a brand like Klein or Paladin gives you consistent, even pressure on every single crimp.
- A Precision Wire Stripper: You need to get that outer cable jacket off without even scratching the delicate twisted pairs inside. The smallest nick in the insulation on one of those little wires can kill your signal quality or cause a total failure. A dedicated Ethernet cable stripper with adjustable blades is the only way to go.
- The Right Connectors: Believe it or not, not all RJ45 plugs are created equal. A Cat6 cable has thicker wires and needs a Cat6-rated connector with staggered channels to fit them properly. Using a Cat5e plug on a Cat6 cable is a classic DIY mistake that instantly throttles your gigabit speed down to 100 Mbps. Ouch.
- A Reliable Network Cable Tester: Don’t guess—test. A simple continuity tester (the kind with the blinking lights) is the absolute bare minimum. It will instantly tell you if you’ve wired the plug correctly to the T-568B standard and confirm all eight wires are making a solid connection.
We bring Fluke network certifiers to all our client jobs. Why? A basic tester just confirms a connection exists. A Fluke tool proves that connection will actually perform under load, measuring for things like crosstalk and attenuation. It’s the difference between saying "it works" and saying "it works to spec."
Essential Tools For Network Cable Splicing
Beyond the big three, a few other items are crucial for doing a clean, professional-level job. Getting your hands on the right tools from the start makes the whole process smoother and the final connection much more reliable.
| Tool | Primary Function | Finchum's Pro-Tip |
|---|---|---|
| Flush Cutters | Trimming all eight wires to a perfectly uniform length before inserting them into the connector. | A clean, flat cut is non-negotiable. It ensures every single wire makes solid contact with the pins inside the RJ45 plug. |
| Cable Jacket Stripper | Safely removing the outer insulation without damaging the fragile inner wires. | Seriously, don't use scissors or a knife! A dedicated tool prevents nicks that cause signal loss and connection drops. |
| Heat-Shrink Tubing | Protecting a permanent splice point from moisture, dust, and physical stress. | For permanent splices (not using couplers), this provides a durable, moisture-resistant seal that won't fail you. |
| Cable Labels | Organizing and identifying cable runs for future reference and troubleshooting. | Labeling both ends of the cable run might seem tedious now, but it will save you a world of pain during future upgrades. |
Investing in this kit doesn't just prepare you for a repair; it empowers you to turn a potential day of downtime into a quick, ten-minute fix.
Knowing what goes into our professional networking and Wi-Fi services gives you a leg up in managing your own infrastructure. Armed with the right equipment, you're one step closer to making a solid, dependable connection that won’t become the next mysterious bottleneck in your Greenwood office.
How To Splice An Ethernet Cable The Right Way
Alright, let's get our hands dirty. Splicing a network cable isn't black magic, but it absolutely demands precision. After 17 years servicing businesses all over Indianapolis, I can't tell you how many DIY splices we've had to fix. They often look okay on the surface but are secretly crippling network performance.
The difference between a solid, fast connection and a future headache really comes down to nailing the small details. This isn't just about connecting a few wires; it's about protecting your company's uptime. A sloppy splice creates a digital bottleneck that slows down your entire operation, turning billable hours into wasted time spent staring at a loading icon.
We're going to walk through this process exactly how our certified techs would on-site, focusing on the little things that make all the difference.
Preparing The Cable Ends
First things first, you need a clean start. Grab your flush cutters and snip off any damaged or frayed parts of the cable. You’re looking for a perfectly clean, square cut on both pieces you plan to join. Trust me, a mangled end makes every other step a nightmare.
Next up, gently use your wire stripper to take off about one inch of the outer plastic jacket from each cable end. This is where a lot of people mess up. If you so much as nick the insulation on the eight little wires inside, you've already compromised the connection. A proper Ethernet stripper is designed to score the jacket just enough without cutting through to the conductors inside.
We once traced an entire department's "slow network" complaint in a Carmel financial office to a single splice. The previous IT guy had used a pocketknife to strip the cable and put a tiny, almost invisible slice in the green pair's insulation. It was just enough to introduce signal noise that cut their gigabit speeds in half.
The T-568B Wiring Standard Is Your Bible
Okay, jacket's off. Now you'll see four pairs of twisted wires. For pretty much any business network here in the States, the T-568B wiring standard is the only language that matters. You have to follow it to the letter.
Gently untwist the pairs, but—and this is important—only untwist them as much as you absolutely need to, maybe half an inch from the jacket.
The real secret to preventing signal crosstalk and keeping your speeds high is to keep those wires twisted as close to the connector as humanly possible. This detail alone is the number one problem we find when fixing failed DIY jobs.
Here’s the color code you need to burn into your brain for T-568B, from left to right (pin 1 to pin 8):
- Orange/White
- Orange
- Green/White
- Blue
- Blue/White
- Green
- Brown/White
- Brown
Get those eight tiny wires straightened out and lined up flat, in that exact order. This part takes a little patience.
Crimping The RJ45 Connector
With your wires lined up perfectly, use your flush cutters again to trim the ends so they are all the exact same length. They should stick out about half an inch from the outer jacket. A perfectly flat, even cut is non-negotiable; it ensures every wire makes solid contact inside the connector.
Now, slide the wires into the RJ45 connector, keeping them flat and in the right order. Make sure the little plastic tab on the connector is facing down. Push them all the way in until you can see the colored ends of the wires pop up at the very tip of the connector. Do yourself a favor and double-check that color order one last time.
The process flow is pretty simple when you have the right gear for the job.
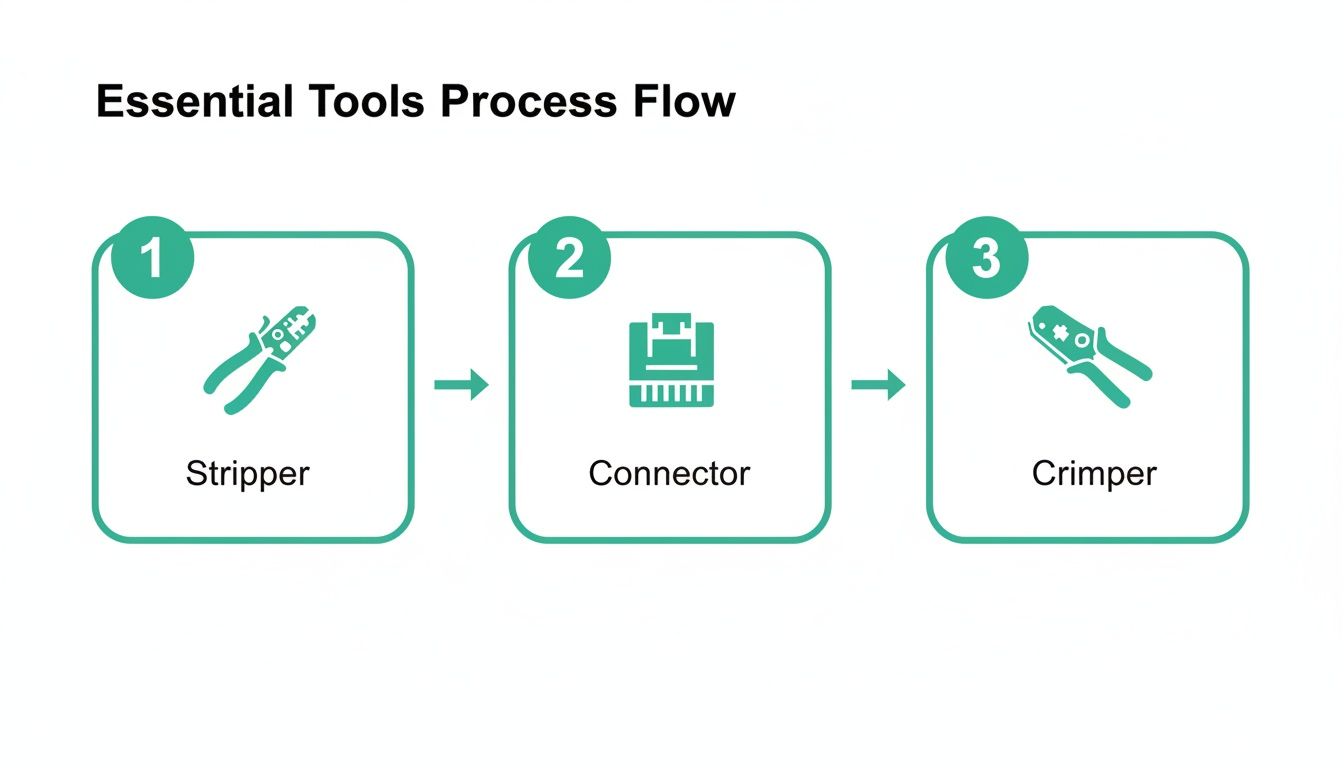
As you can see, having the right tool for each stage—stripping, connecting, and crimping—is what separates a pro job from a failed attempt.
Grab your professional-grade crimper, slide the connector in, and give it a firm, even squeeze. You should hear and feel a satisfying click. That one squeeze does two critical things: it pushes the tiny gold pins down to pierce the wire insulation to make contact, and it clamps the cable jacket to the plug for strain relief.
Repeat this entire process on the other cable end. For those really long runs, knowing how to build a reliable connection is based on the same principles behind a solid point-to-point networking setup—every single link in the chain has to be perfect.
Once both ends have a fresh RJ45 connector, you can join them using an inline coupler to complete the splice. While this method is fast and works well for many situations, it's just one way to get the job done.
Choosing Your Splicing Method
So, your network cable is severed. What now? You've basically got two ways to patch things up. One is a quick-and-dirty fix, and the other is the rock-solid, professional-grade solution. The path you choose really matters for your network's stability, especially if you're running a business here in the Indianapolis area where a flaky connection costs real money.
Let’s put it this way: using an RJ45 inline coupler is like grabbing a heavy-duty extension cord from the hardware store. Using a punch-down junction box is like hiring an electrician to install a brand-new, permanent outlet right in the wall. Both will power your lamp, but only one is built to last a lifetime.
The Quick Fix: The RJ45 Inline Coupler
This is the go-to method for most DIYers, and for good reason—it's fast and simple. You just terminate both ends of the broken cable with fresh RJ45 plugs (the little plastic clips) and then snap them into a small, female-to-female coupler.
It’s a lifesaver for temporary setups. Need to quickly extend a cable for a new desk in a downtown Indy office? A coupler is your best friend. You'll be online in minutes with minimal fuss.
But here's the catch: a coupler adds two extra points of potential failure. Every plug and port is a spot where the connection can get loose, corroded, or just plain finicky over time.
For anything mission-critical, like the cable connecting your main server to the network switch, we'd never trust a coupler. In our 17 years of service, we've chased down too many "ghosts" in the network that turned out to be a cheap plastic coupler failing under a desk. It's a headache you just don't need.
The Professional Choice: The Punch-Down Junction Box
For a splice that's meant to last forever—the kind you’d hide inside a wall or tuck away in the ceiling of a Greenwood warehouse—the punch-down junction box is the only way to fly. This approach creates a far more direct and physically robust connection.
Instead of crimping on flimsy plastic plugs, you use a special punch-down tool to seat each of the eight tiny wires from both cables directly into a terminal block. This creates a solid, metal-on-metal connection that laughs at physical stress, vibrations, and signal degradation.
- Pristine Signal Integrity: A junction box keeps the wire twists tight right up to the connection point. This is absolutely critical for stomping out crosstalk and keeping your network humming along at gigabit speeds.
- Rock-Solid PoE Delivery: Powering devices like VoIP phones or UniFi security cameras? A junction box gives them a stable electrical connection, preventing those random, infuriating reboots caused by power dips.
- Built Like a Tank: Once you snap the cover on, that splice is protected from dust, moisture, and accidental yanks. It becomes a permanent, reliable part of your building's infrastructure.
Sure, this method requires a punch-down tool and a bit more care, but the peace of mind is priceless. A solid wired network is the backbone of great connectivity, a principle that applies just as much to your Wi-Fi, which we cover in our guide to improving Wi-Fi coverage for Indiana businesses.
RJ45 Coupler vs. Junction Box Splice Comparison
Still on the fence? Let's break it down head-to-head to help you, a busy Johnson County business owner, make the right call.
| Factor | RJ45 Inline Coupler | Punch-Down Junction Box |
|---|---|---|
| Best Use Case | Temporary fixes, desk setups, non-critical links | Permanent installations, in-wall repairs, critical infrastructure |
| Reliability | Good for short-term, but adds two failure points | Excellent, creates a permanent and protected connection |
| Signal Quality | Can introduce minor signal loss and crosstalk | Superior signal integrity with minimal performance impact |
| Required Tools | Crimper, Stripper | Punch-Down Tool, Stripper |
| Skill Level | Beginner-friendly | Intermediate, requires more precision |
The bottom line? For a quick patch at your desk, a coupler is perfectly fine. But for any splice that's going to be a permanent part of your building's wiring, taking the extra ten minutes to use a junction box will save you hours of troubleshooting down the road. It's about turning that "wasted tech time" back into profitable, billable hours.
Testing And Troubleshooting Your Splice
So, you’ve crimped the plug. Done, right? Not so fast. In our world, a job isn't finished until you’ve proven it works perfectly. This is the moment where your quick fix either becomes a rock-solid connection or a future troubleshooting nightmare that eats up your billable hours.
Testing your splice is non-negotiable. It's how you sleep at night.
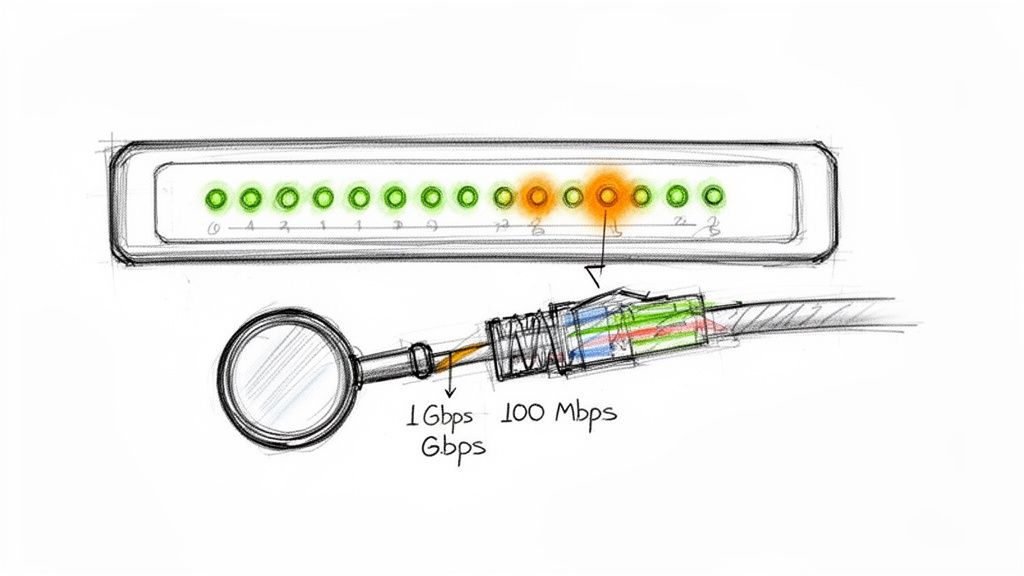
Grab a basic network cable tester—this little gadget is your best friend. It has two parts: a main unit and a remote end. Plug each end of your cable into them and fire it up. You're looking for a beautiful, sequential march of green lights, one through eight. If you see that, pop the champagne. You’ve got continuity and the correct wire order.
Decoding The Blinking Lights
But what if the lights put on a chaotic little dance instead? Don't sweat it. The pattern of those lights is telling you a story about exactly what went wrong inside that tiny plastic connector.
- No Lights at All: Houston, we have a total failure. Either a wire is completely severed, or—more likely—the pins in the connector never actually pierced the wire’s insulation. Check your crimp. You’ll probably need to snip the end off and start fresh.
- Lights Blink Out of Order: Ah, a classic crossed pair. If lights 3 and 6 are swapping places, for instance, you’ve probably mixed up your green and green/white wires. It's a common slip-up when you're staring at the T-568B diagram.
- One or More Lights Are Off: This is a dead wire. And even one dead wire can cripple your network speed. The connection might technically "work," but you’ve just sabotaged your performance.
We once traced a Carmel client's chronic "slow internet" problem back to a single, sloppy splice done by a previous contractor. Only seven of the eight wires were making contact. This tiny error downgraded their entire gigabit connection to a measly 100 Mbps, creating a massive data bottleneck that cost them hours of productivity every single week.
The True Cost Of A Single Failed Wire
Losing just one wire doesn't just knock off a fraction of your speed—it can torpedo it by 90%. A true gigabit connection (1000 Mbps) needs all eight wires, or four pairs, to sing in harmony. The moment one of those pairs goes down, your equipment automatically downshifts to the next best speed, which is almost always Fast Ethernet (100 Mbps).
This is a silent killer for any Johnson County business. Your computer won't throw up an error message; things will just feel sluggish and painful. That $2 splice can end up costing you hundreds in lost efficiency and mounting frustration.
Troubleshooting Common Splice Failures
Okay, so your test failed. Don't panic. The fix is usually simple, because the mistakes are almost always the same. Here are the most common culprits we see in the field:
- Bad Crimp: The pins didn't get pushed down far enough to make a solid connection. This happens all the time with cheap, flimsy crimping tools. There's no saving it—cut the connector off and try again, this time with firm, even pressure.
- Reversed Pairs: You got a little dyslexic with the colors and swapped two wires. It happens. Just take a deep breath, carefully double-check your wire order against the T-568B diagram, and re-terminate the end.
- Jacket Not Secured: The outer plastic sheath of the cable wasn't pushed far enough into the plug before you crimped. This leaves those delicate little wires exposed to strain, and they will fail eventually. Always make sure the jacket is firmly clamped by the plug itself.
When To Skip The DIY And Call The Professionals
Splicing one dangling network cable at your desk is one thing. It's a quick fix, a satisfying little project. But what about when you're looking at rewiring an entire office, or fishing new lines through the walls of an aging server room in a Greenwood business park? What if you're a Johnson County medical facility where a sterile, compliant environment is non-negotiable?
Suddenly, the DIY approach loses its charm. This is that gut-check moment where you have to honestly calculate the return on investment (ROI) of your own time.
Let's be blunt. The cost of your focus for a few hours, plus the stomach-churning financial risk of network downtime—which can rocket up to $9,000 per minute—almost always makes calling a pro the smarter move. When your business's ability to operate is on the line, a "good enough" splice just isn't.
The Complexity You Can't Afford To Ignore
Some jobs just scream "professional help." If your situation involves any of the following, it’s a clear sign to put down the crimper and pick up the phone.
- Compliance and Certification: For a healthcare provider under HIPAA or a defense contractor navigating CMMC standards, your network isn't just about speed. It’s about security and having auditable proof of its integrity. We don't just connect cables; we certify them with advanced Fluke testers to give you documented proof that your network meets those exacting standards.
- Running Cable Through Walls and Ceilings: This is where networking crosses over into light construction. It's crucial to understand the risks of DIY electrical repairs and local building codes. We know how to navigate plenum spaces, firewalls, and the unique quirks of older Indianapolis architecture without compromising safety or structural integrity.
- Large-Scale Projects: Wiring a new wing or outfitting an entire office in a booming Hamilton County corridor isn't just about pulling cable. It requires meticulous planning, creating a logical network map, labeling every single port, and building an infrastructure that can handle your future growth. A messy, undocumented job is a troubleshooting nightmare waiting to happen.
- High-Performance Environments: For a downtown Indy tech hub or a creative agency slinging massive files, every millisecond of latency is money. We design and install systems using latency-optimized UniFi networking gear and can implement advanced setups like Zero Trust architecture to make your network not just fast, but fundamentally secure.
Over our 17 years, we've seen brilliant business owners burn entire days chasing a single network ghost. That's a full day they could have been closing deals or serving clients. Our job is to convert that "wasted tech time" back into billable hours for you, all under a predictable monthly IT budget.
The Finchum Fixes IT Difference
When you call us, you’re not just getting a "geek with a screwdriver." You’re bringing in a team of certified pros who see the whole picture. Our goal isn't to fix one broken cable; it's to build a rock-solid, high-performance network that actually gives your Greenwood business a competitive edge.
We use diagnostic tools that go way beyond a simple continuity test, looking at bit-level data transmission and signal integrity to ensure every connection is flawless under real-world pressure. We don’t just splice the cable—we guarantee the performance of the entire network segment.
Let us handle the complexity so you can get back to what you do best: running your business.
Tired of fighting with your network? Let the pros handle it. We offer a Free Network Assessment for businesses in the Greenwood and Indianapolis area to identify and permanently fix issues like bad splices, weak Wi-Fi, and other performance bottlenecks. Finchum Fixes IT is here to build a network you can rely on. Contact us today to schedule your assessment.